Every step of running a YouTube channel works on a phone, all the way past the setup. Filming, editing, designing a thumbnail, and publishing all happen inside two free apps, with nothing routed through a laptop or a desktop editor at any point, and the specific taps, apps, and settings that make each step work are exactly what most guides skip past.
This is the deep version: the mobile-specific account setup, then everything after it that almost nothing else covers, filming, editing, and publishing, all from the same device the channel was created on. If you have not picked an account type yet, the full channel setup guide covers personal versus Brand Account first.
App or Browser
The YouTube app is the default path for almost everything in this guide, fast, built for touch, and it covers setup, filming, editing basics, and publishing without ever opening a browser. Install it, along with the separate YouTube Studio app for channel management and analytics.
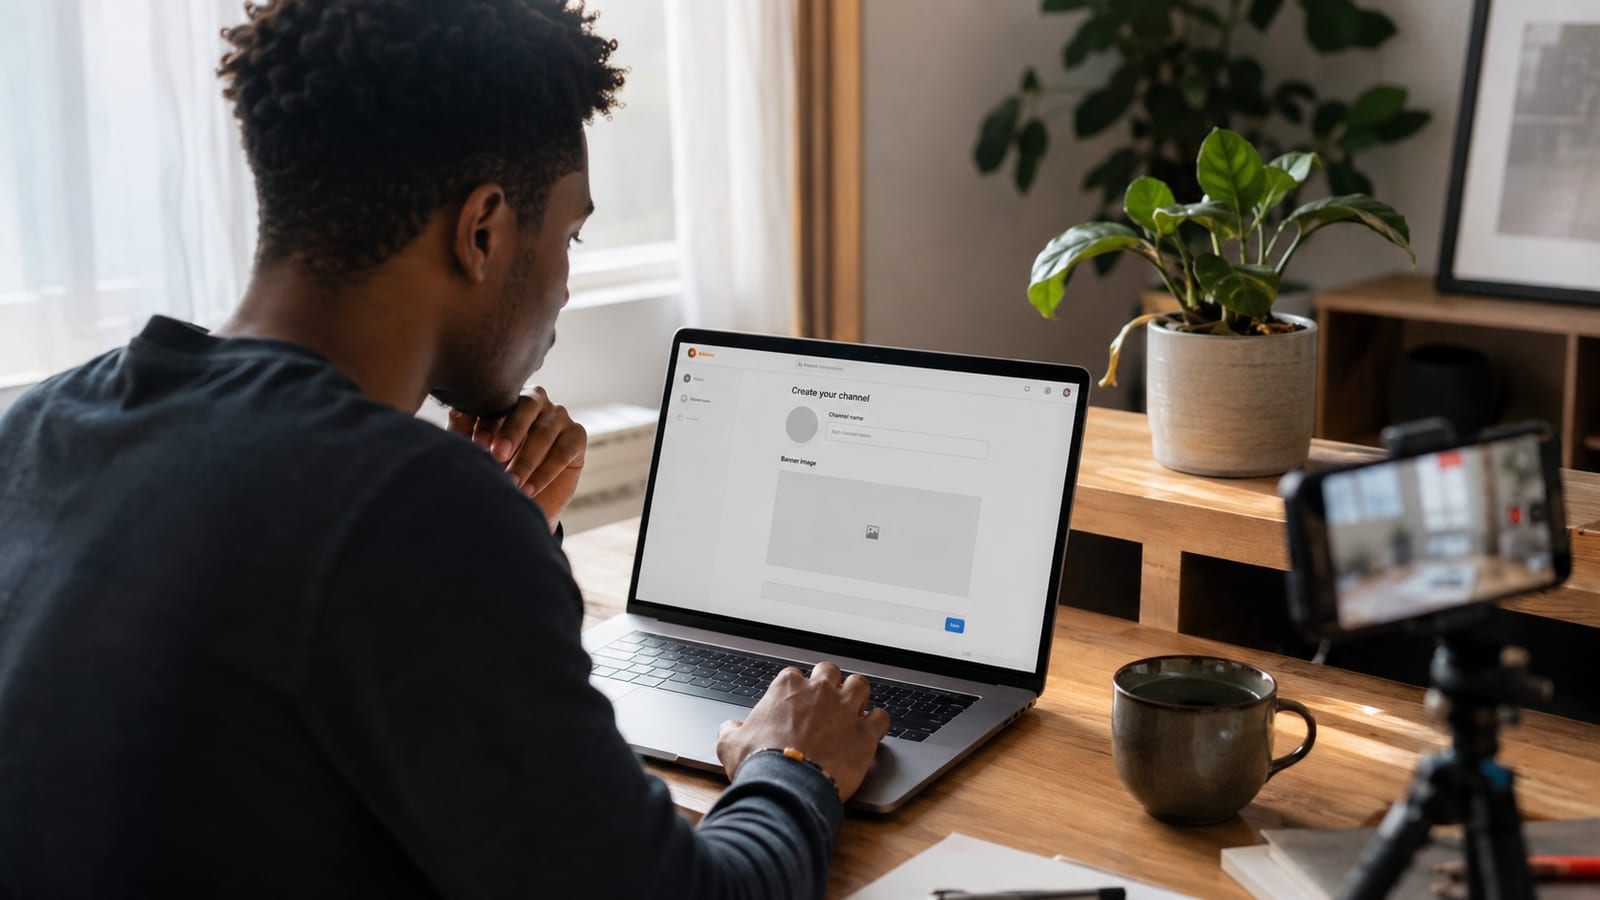
A phone browser works too, with one catch: the standard mobile view hides several Studio options, most notably uploading a channel banner. Turn on desktop mode first:
- Safari (iPhone). Tap the "aA" icon in the address bar, then select "Request Desktop Website."
- Chrome (Android). Open the three-dot menu and check "Desktop site."
Desktop mode unlocks the full Studio interface inside your existing browser, no app required. This is worth using if you would rather not install another app, or you are on a shared or work device.
Creating the Channel
The tap sequence is different depending on which account type you picked in the setup guide, personal or Brand Account, and mixing them up is the single most common mobile setup mistake.
| Account type | Path on mobile |
|---|---|
| Personal | Profile icon → Your channel → the app prompts you to create one on the spot |
| Brand Account | Profile icon → Settings → Create a new channel → choose "Use a business or other name" |
Either path ends the same way: type a name and choose a handle, the part of your URL after the @ symbol, then confirm. Picking Brand Account here is just the start, the full Brand Account guide covers roles, permissions, and adding a manager once the channel exists.
Quick Tip: if nothing you type is landing, the free Channel Name Generator builds real options from your niche in seconds, all from the same phone.
Branding, Entirely on the Phone
Six elements make a channel look finished, and every one of them is editable from mobile:
| Element | Where it lives |
|---|---|
| Profile picture | YouTube app → Your channel → Edit |
| Banner | Desktop mode in your browser (see above), or Studio app on newer versions |
| Watermark | Studio app → Customization → Branding |
| Channel trailer | Studio app → Customization → Layout, plays for visitors who have not subscribed yet |
| Featured video | Studio app → Customization → Layout, plays for returning subscribers instead |
| About, links, contact | Studio app → Customization → Basic info |
Trailer and featured video are the two elements almost every setup guide skips entirely. They serve different visitors: a trailer is your pitch to someone who has never subscribed, while a featured video greets people who already have. Pointing both at the same clip means one of the two placements does nothing. The banner size guide covers exact dimensions so nothing crops oddly across devices.
The Settings Almost Nobody Covers
Buried inside Studio's mobile settings are a handful of items that never make it into most setup guides:
- Currency and country. Set once, early, since it determines how your future ad revenue displays and reports.
- Channel keywords. Settings → Channel → Basic info, 5 to 10 keywords describing your channel's topic, separate from the tags on any individual video.
- Made-for-kids designation. Required at the channel level and again per video, covered in more depth in the publishing section below.
- Second channel. One Google account can hold multiple channels, useful if you want to keep a personal channel and a niche channel fully separate.
Last: verify your phone number. It is not optional in practice, since an unverified channel is capped at short uploads and cannot go live.
Research Your Niche Before You Film
The full setup guide covers niche and audience research in depth, the short version here: check real search demand before you commit to a topic, rather than picking on instinct. The free Keyword Research tool runs entirely in a mobile browser, so this step never requires a desktop either.
Filming on a Phone
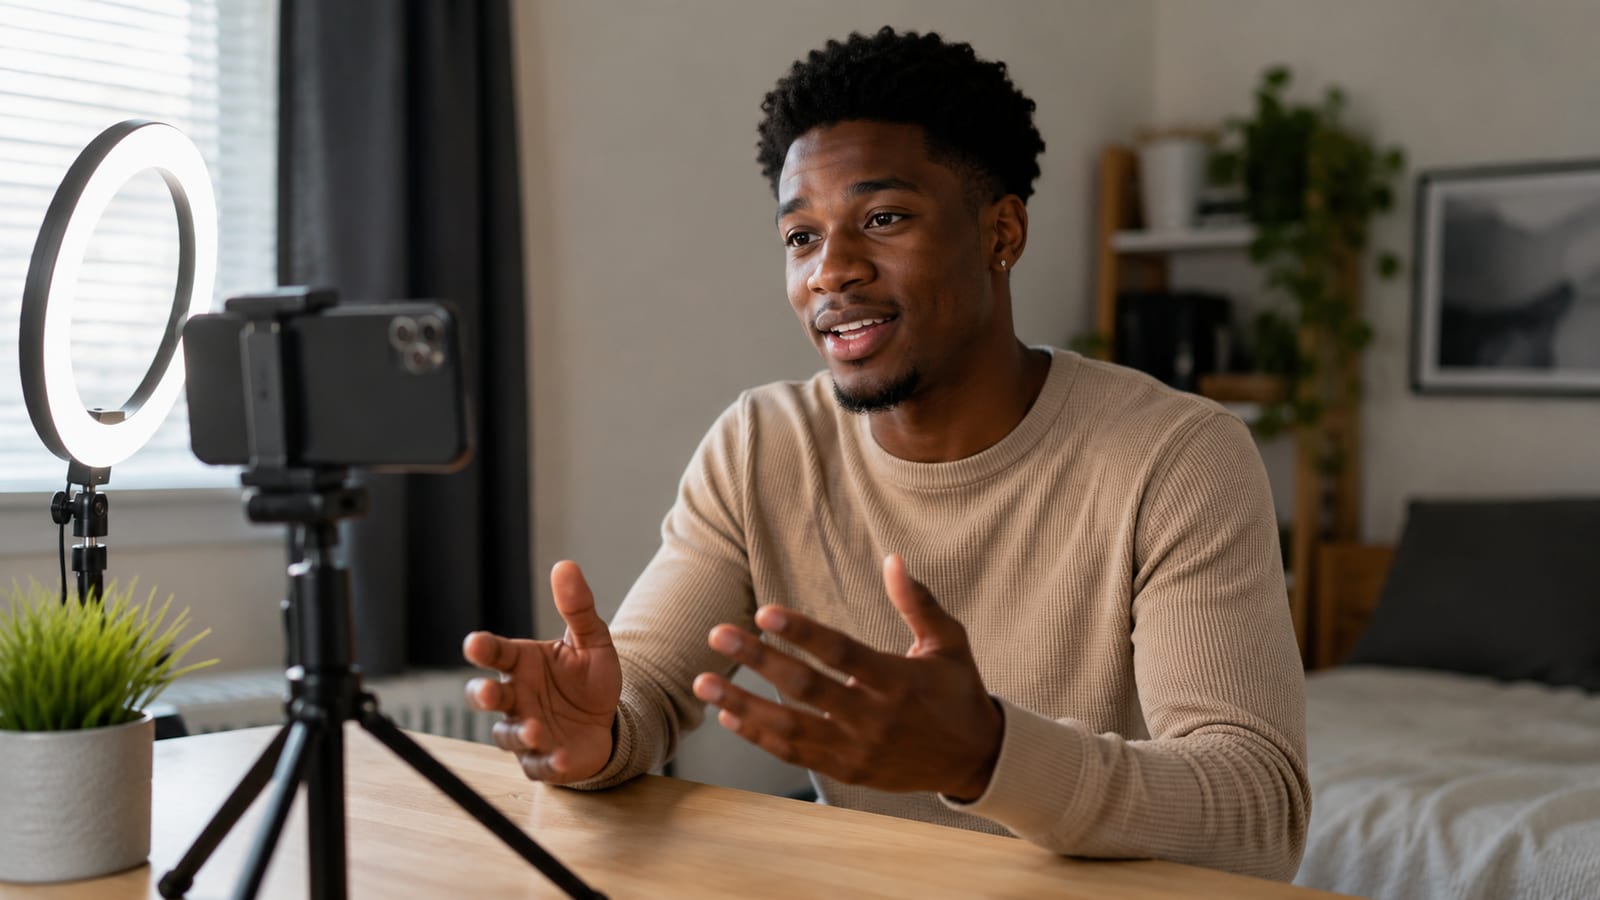
A modern phone camera is genuinely good enough to start. Three things make the biggest visible difference:
- Audio. Your phone's own wired earpiece headphones, the kind with an inline microphone, outperform the phone's built-in mic at arm's length, and cost nothing extra if you already own a pair. A clip-on lavalier under $30 is the first real upgrade.
- Lighting. A window with natural daylight beats almost any cheap artificial light. Face the light, do not put it behind you.
- Stability. A small phone tripod under $15 removes handheld shake and frees both your hands, worth buying before almost anything else on this list.
Pro Tip: film landscape, not portrait, unless every video is going straight to Shorts. Switching orientation mid-channel confuses new visitors browsing your uploads and looks inconsistent on the channel page.
For scripting and the specific mechanics of a strong opening, the complete video-production guide covers hooks and structure in full depth, all of which applies identically whether you are filming on a phone or a camera.
Editing on a Phone
CapCut is the most recommended free option, with AI captions, a beginner-friendly interface, and enough features to finish a genuinely polished video. On older or lower-RAM phones where CapCut runs slowly, PowerDirector is the lighter alternative worth trying instead.
| App | Best for |
|---|---|
| CapCut | Most phones, AI captions, effects, free |
| PowerDirector | Older or lower-RAM phones needing a lighter app |
| InShot | Quick trims and simple text overlays, minimal learning curve |
Being honest about the limits here matters more than pretending they do not exist. Heavy multi-track editing and bulk editing across a large video catalog are still genuinely easier on desktop software. For a single video with cuts, text, and basic color, a phone editor gets you all the way to a finished file.
Publishing From Your Phone
Tap Upload inside the YouTube app, select your file, and fill in title, description, and privacy before it goes live. Two steps in this flow specifically trip up first-time phone creators:
- Audience setting. Every video needs a declared audience, made-for-kids or not, before it can publish. It appears directly in the mobile upload flow and cannot be skipped.
- Thumbnail. YouTube can auto-generate one from your footage, but a custom thumbnail earns more clicks. Free apps like Canva or PicsArt build one entirely on a phone, and you can swap the thumbnail on an already-published video from inside Studio's mobile interface at any time, no re-upload required.
Title and description matter just as much on mobile as on desktop. The free Title Generator and Description Generator both run in a mobile browser and give you a starting point in seconds rather than a blank field. The thumbnail size guide covers the exact spec so nothing gets cropped on upload.
Managing Your Channel After You Publish
The Studio app covers everything day to day: views, watch time, subscriber changes, comments, and the retention graph for each video. Watch that graph on every upload, a steep drop-off in the first 30 seconds points to the opening, not the topic or the thumbnail.
Where the app genuinely runs out of road is deep historical comparison once you have months of videos to analyze side by side, and bulk edits across a large catalog. Neither is a problem for a new channel's first several months.
Nothing on This List Needs a Desktop
Every step above, setup, filming, editing, thumbnails, publishing, analytics, runs natively on a phone. The two genuine exceptions, deep historical analytics and bulk multi-video editing, only show up once a channel already has real history behind it, which is a good problem to have.
Start with what is already in your pocket. The equipment upgrades can wait until the channel gives you a reason to make them.