Typing "how to start a YouTube channel" into Google returns millions of results, and nearly every one of them walks through the same six or seven steps in the same order: sign in, name your channel, add a banner, pick a niche, upload. That checklist is accurate. It is also missing the two decisions that quietly determine how much of your setup you end up redoing later: whether you create a personal account or a Brand Account, and whether you need anything beyond the phone already in your pocket.
Both of those choices get one line in most guides, if they get mentioned at all. Neither is trivial to unwind once videos, subscribers, and a channel history are attached to the wrong one. This is the complete process, start to finish, with those two decisions given the depth they deserve, plus the free tools that turn each planning step from a guess into something you can check before you commit.
Choose Your Account Type Before You Choose a Name
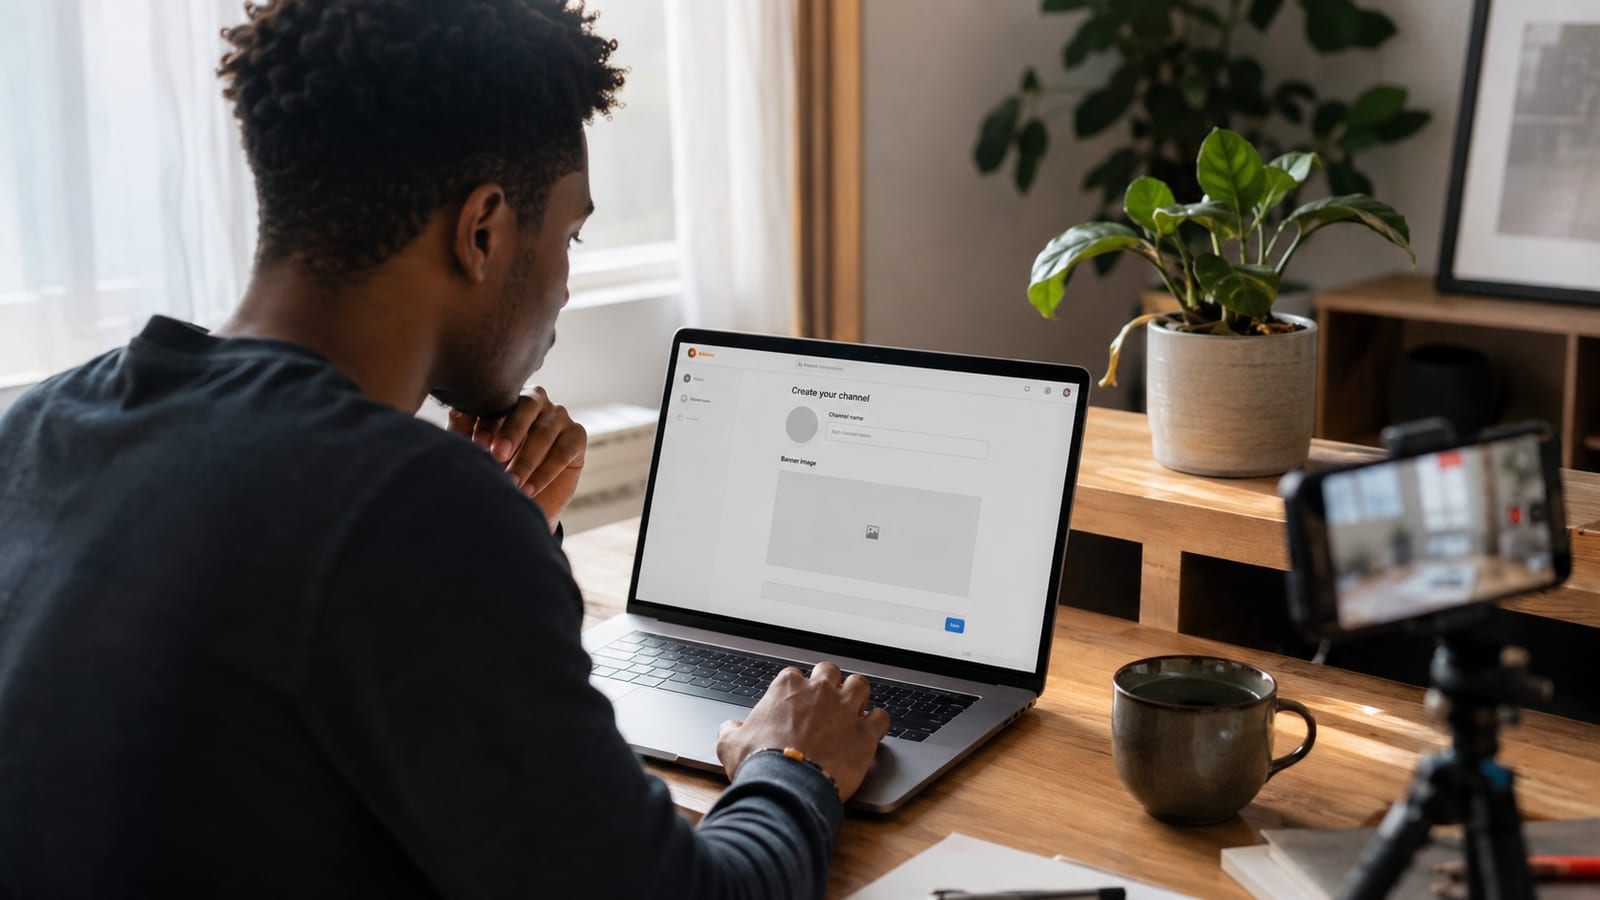
Every YouTube channel sits on top of a Google account, so if you already use Gmail or Google Drive, you already have what you need. What most guides skip is the fork that comes immediately after signing in: personal channel or Brand Account. Pick before you name anything, since the name, handle, and branding you choose next attach to whichever one you select.
| Personal Channel | Brand Account | |
|---|---|---|
| Tied to | Your individual Google account | A separate identity, still run through a Google login behind the scenes |
| Managers | Only you, unless you share your Google password | Multiple people can manage it without sharing a single login |
| Best for | A one-person channel tied to your own name | Businesses, teams, or any channel you want kept separate from your personal profile |
| Switching later | Possible, but rebuilds the ownership structure from scratch | Possible, same caveat in reverse |
A Brand Account costs nothing extra and takes the same few minutes to set up. The only real reason to skip it is certainty that the channel will always be a solo project tied to your own name. If there is any chance you will bring on an editor, a co-host, or run the channel as a registered business, starting as a Brand Account saves a migration later.
Once the account type is settled, pick a name and handle. Short, easy to spell, and related to your niche beats clever every time, since viewers who cannot remember or type your name cannot find you again. If nothing is landing, the free Channel Name Generator gives you real options built from your niche in seconds rather than a blank text box.
Quick Tip: check your handle across YouTube, Instagram, and TikTok before you commit. A name that is free on YouTube but already taken everywhere else forces a mismatched handle later, right when you have an audience who already knows you by the first one.
Last in this step: verify your phone number. It is not optional in practice, since an unverified channel is capped at short uploads and cannot go live, and YouTube asks for it the moment you try to upload anything longer. While you are in settings, turn on two-step verification too, a channel with any real subscriber count is a target worth locking down properly from day one.
One setting almost every guide skips entirely: in YouTube Studio, go to Settings → Channel → Basic Info and add 5 to 10 channel keywords describing what your channel covers. Viewers never see them, but they are a direct signal YouTube's system uses to understand your channel's topic, separate from the tags on any individual video, and worth filling in before your first upload rather than after.
You Can Do All of This From Your Phone
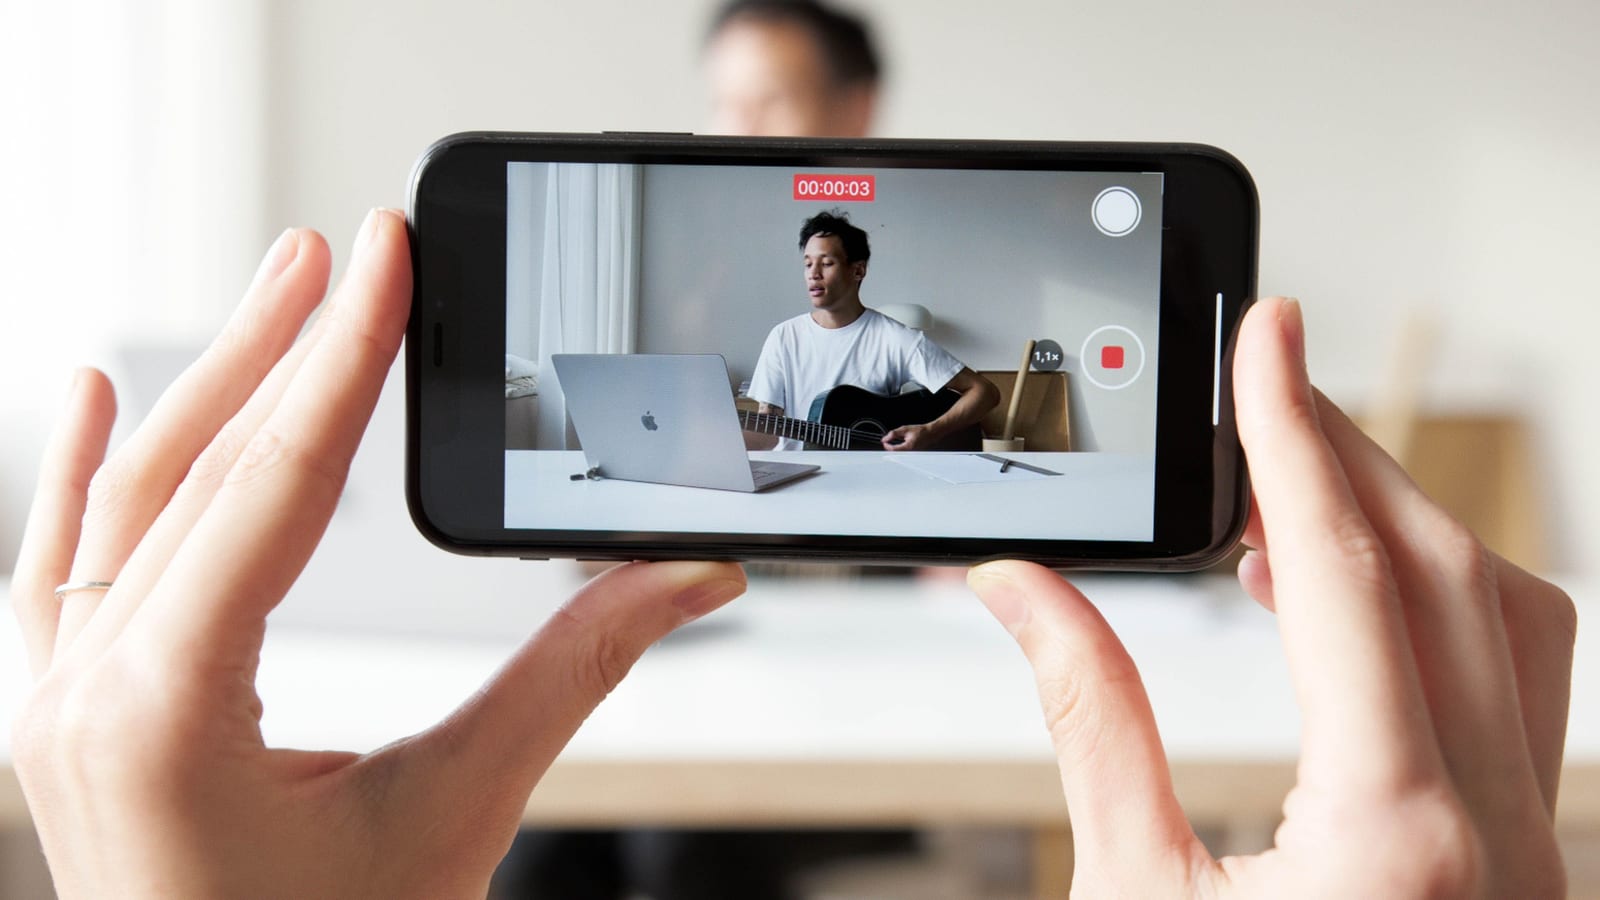
Nothing above requires a computer. Install the YouTube app, tap your profile icon, and select "Your channel," and if you do not have one yet, the app prompts you to create it right there. The YouTube Studio app handles everything else, and it genuinely covers the whole early phase:
- Channel creation and branding. Set your name, handle, profile picture, and banner from the app in a few minutes.
- Filming and basic editing. Most phones shoot 4K by default, and free apps like CapCut handle cuts, text, and audio cleanup without a desktop.
- Uploading and metadata. Title, description, tags, thumbnail, and visibility settings are all available directly at upload, right from the app.
- Early analytics. Views, watch time, and the retention graph for individual videos all render inside the Studio app.
A phone genuinely runs out of road in only two places: deep analytics work once you have months of data to compare, and bulk editing across a large back catalog. Neither of those is a first-video problem. For the entire setup, planning, filming, and uploading phase, a phone is a complete toolkit for the job.
Brand Your Channel Before Your First Upload
A blank channel page reads as unfinished to anyone who lands on it before your first video is even live, so branding should happen first. Six elements do the actual work:
- Profile picture. A clear, simple image that still reads well at the small thumbnail size it appears at next to a video.
- Banner. Treat it as a billboard, not just decoration: a short line on what the channel is about plus an upload schedule or a direct "Subscribe for weekly tips" earns more than a purely visual design. The banner size guide covers the exact dimensions so nothing gets cropped oddly across desktop, mobile, and TV.
- Watermark. Optional, but it reinforces branding on every video and gives viewers a one-click subscribe button while they watch.
- About section. The part people skip and should not. A clear couple of sentences on what the channel covers and how often you post does real work, both for a visitor deciding whether to subscribe and for YouTube's own understanding of your channel.
- Links. Any social profiles or a website you want visible directly on your channel page.
- Channel trailer. If you already have a few videos ready, a short trailer playing for new visitors converts noticeably better than an empty page with no context.
Pro Tip: write your about section primarily for a first-time visitor deciding whether to subscribe. State what the channel covers, who it is for, and how often you post, in that order, and save keyword-heavy language for your video descriptions instead.
Plan Your Content Strategy Before You Film Anything
This is the step that decides whether the channel survives past month three. Four questions, answered honestly, before you film anything:
- Does this niche have real, ongoing demand, or does it just feel exciting to you this week?
- Can you make videos on this topic for a year without running out of angles, since a trending subject you cannot sustain is a worse foundation than a narrower one you can?
- Who specifically is this for? A channel trying to reach everyone reaches no one in particular.
- What is already ranking or trending in this space, and where is the obvious gap nobody has filled yet?
That last question deserves real research. Look at who else is already making videos in your space before you film a single one, note what they cover well, what they cover poorly, and where an angle is sitting unclaimed. The free Competitor Analysis tool runs this research against real channel data instead of a manual scroll through search results.
Most beginners pick a niche on instinct and find out months later that almost nobody was searching for it. Checking real demand before you commit is a five-minute step that saves a year of effort aimed at an audience that was never there.
Don't guess whether your niche has real demandThe free Keyword Research tool shows actual search volume and competition for any topic before you build a channel around it. No signup.Check my niche, free →From Idea to Finished Video
Once your niche is validated, the next problem is never running out of things to say about it. The free Video Ideas Generator plugs your niche into 90-plus proven content formats and returns a working list instead of a blank page, and the full video ideas guide covers the format types in more depth if you want to build your own system.
Test each idea against real search volume before you script it. An idea that sounds good in your head and an idea people are searching for are not always the same thing. The same Keyword Research tool from the planning step works here too, this time on individual video topics instead of the whole channel.
Write the script before you touch a camera. Even a loose bullet outline beats improvising on the spot for most beginners.
The opening ten seconds deserve more attention than the rest of the script combined, since that is where nearly all first-video drop-off happens. The complete video-production guide covers scripting, hooks, and filming in full depth if you want the extended version of this step.
Equipment matters less than most new creators assume, and it scales with your budget rather than gating you at the start:
| Budget | Setup |
|---|---|
| $0 | Phone camera, natural light from a window, phone's built-in mic |
| Under $50 | Add a clip-on lavalier microphone, the single highest-leverage upgrade |
| Under $200 | Add a basic ring light or softbox for consistent lighting regardless of time of day |
| $300+ | Entry camera or capture card, only worth it once phone limitations are the actual bottleneck |
Viewers forgive a soft picture far more readily than hollow or noisy sound, so if the budget only stretches to one upgrade, the microphone wins every time. The full breakdown at every budget is in the best microphone for YouTube guide.
Quick Tip: film in one session where possible. Stopping and restarting is where most first-time creators lose momentum and never finish, so if you misspeak, pause and pick back up rather than resetting the whole take, you can cut around it later.
When you edit, cut anything that does not move the video forward: dead air, false starts, filler words. A rough cut with zero dead air beats a beautifully graded video that drags.
If your videos use music, stick to sources that clear the rights. A huge share of copyright claims come from "no copyright" tracks that were never properly licensed in the first place, covered fully in the copyright-free music guide.
Publish and Get Found
Upload as MP4, 16:9 aspect ratio, at least 1080p, since YouTube compresses everything on upload and a higher-resolution source gives that compression more detail to work with. Before you hit publish, run through this checklist:
- Title. States the specific outcome or question the video answers. The title guide covers the formulas that consistently earn the click, and the free Title Generator gives you a starting point in seconds.
- Thumbnail. Built to spec and designed for a phone screen first, since most viewers decide in under a second based on the image alone. The thumbnail size guide covers the exact dimensions and safe zones.
- Description. A keyword-rich opening line, a short summary, and timestamps if the video runs past five minutes. The description template guide has ready structures, and the free Description Generator builds one instantly.
- Tags. The metadata layer YouTube uses to understand what your video is about. The free Tag Generator builds a ranked list from your topic.
- Captions. Help accessibility and search both, and take a few minutes to add before you publish.
- End screens and cards. Point to your next video so a viewer stays on your channel instead of back in their feed, worth adding once you have more than one video live.
Once you have three or more videos in a niche, group them into a playlist, one of the easiest ways to turn a single view into several. And do not skip Shorts: a 30 to 60 second clip pulled from your strongest long-form moment gives that video a second discovery channel almost for free.
Grow Past Your First Videos
Consistency beats frequency. A channel that reliably posts every week outperforms one that posts daily for a month and then goes quiet, since viewers subscribe partly on the expectation of when your next video lands. Four tactics do most of the work once you have a small library:
- Post on a predictable schedule. The best time to post guide covers population-level timing data, useful early on, though your own channel's data beats any generic chart once you have a few weeks of history.
- Reply to comments, especially in the first hour after a video goes live. YouTube's own data shows a real correlation between creator engagement and subscriber growth.
- Promote new videos on whatever other platforms you already use. A Short, a post, a story, anywhere your existing audience already checks.
- Collaborate with similarly sized creators in your niche. A shared audience is one of the fastest ways to grow past your own subscriber base's ceiling.
Measure What's Working, Then Fix What Isn't
YouTube Studio's free analytics cover more than most beginners ever open. Watch your Audience Retention graph on every video. If the steepest drop-off sits in the first 30 seconds, the fix is the opening, not the topic or the thumbnail. That single graph tells you more about what to change next time than any other metric on the page.
Monetization has a hard floor before you can even apply to the Partner Program:
| Requirement | Threshold |
|---|---|
| Subscribers | 1,000 |
| Watch hours (long-form) | 4,000 public hours in the trailing 12 months |
| Shorts equivalent | 10 million public Shorts views in the trailing 90 days |
| Typical timeline | 6 to 18 months for a consistent channel in a real niche |
Pro Tip: ad revenue is rarely the whole picture even once you clear those thresholds. Sponsorships and affiliate income tend to outpace ads for smaller, engaged channels well before either monetization threshold is hit, so do not treat the Partner Program as the only revenue path worth planning around.
If weeks pass with no movement, resist the urge to redesign everything at once. Most stalled channels have one specific, findable problem rather than a dozen small ones, and the channel not growing guide walks through how to isolate it before you touch anything.
Frequently Asked Questions
How do I start a YouTube channel?
Sign in to YouTube with a Google account, choose between a personal channel and a Brand Account, pick a name and handle, add a profile picture and banner, then verify your phone number to unlock longer uploads. The account setup itself only takes minutes, the real work is planning what you will make.
Do I need a Google account to start a YouTube channel?
Yes, every YouTube channel runs on a Google account underneath it, even a Brand Account, since Brand Accounts are still managed through a personal Google login behind the scenes. If you already use Gmail, Google Drive, or Google Photos, that same account can become your channel with no extra signup.
Should I use a personal account or a Brand Account for YouTube?
Choose a Brand Account if you ever plan to add a manager, run the channel as a business, or keep your channel identity separate from your personal Google profile. Choose personal only if the channel will always be a one-person operation tied to your own name, since switching later is possible but rebuilds your channel's ownership structure from scratch.
Can I start a YouTube channel entirely on my phone?
Yes, the full setup, filming, editing, and uploading can all happen on a phone using the YouTube app and YouTube Studio app. The one place a phone genuinely falls short is deep analytics work and bulk editing across many videos, both easier on desktop once your channel has real history to review.
How do I create a YouTube channel for my business?
Set it up as a Brand Account rather than a personal channel, since a Brand Account lets multiple team members manage the channel without sharing a single login, and it keeps the channel's identity separate from any one employee's personal Google account. Everything else in the setup process is identical to a personal channel.
What equipment do I need to start a YouTube channel?
A modern smartphone, a clip-on microphone under $30, and a window for natural light cover the first several months of most channels. Audio quality affects viewer retention more than video quality, so if you can only upgrade one thing before you start, upgrade the microphone rather than the camera.
How long does it take to start making money on YouTube?
You need 1,000 subscribers and 4,000 public watch hours in the trailing 12 months, or the Shorts equivalent, before YouTube even lets you apply to the Partner Program. Most new channels that post consistently and pick a real niche reach that threshold in 6 to 18 months, though the range varies enormously by niche and upload frequency.
How do I choose a niche for a new YouTube channel?
Start from a topic you already know enough about to make videos for a year without running out of ideas, then check real search demand for that topic before committing, rather than guessing. A niche you can sustain beats a trending one you will abandon in six weeks.
Do I need to show my face to start a YouTube channel?
No, faceless channels built around screen recordings, stock footage, voiceover, or animation are a fully viable format, and several of the largest channels in finance, tech, and true crime run this way. It does close off vlogging and reaction content specifically, so the decision should follow from your content type rather than camera shyness alone.
How much does it cost to start a YouTube channel?
Zero dollars for the channel itself, YouTube is free to create and free to upload to. Realistic early costs are a microphone, and eventually paid tools once you outgrow YouTube Studio's free analytics, but neither is required before your first video.
The Setup Is the Easy Part
Every technical step above, the account, the branding, the upload, is mechanical enough to finish in an afternoon. The two decisions that compound over time are the ones this guide gave real depth to: picking the account structure your channel will still be using at 100,000 subscribers, and picking a niche real people are searching for instead of one that only sounds good to you.
Get those two right and the rest of this guide is just execution, one video, one upload, one week at a time, until the channel that looked empty on day one stops looking new.